What You Need to Create a Splashscreen for Your Custom Spreadsheet Application [Part 1 of 2]
This week's tutorial features an anatomy of the Excel-VB code and Graphic User Interface Active-X controls you can use to create professional looking Splash Screens for your custom Excel-VB apps.
As you develop increased proficiency in building custom apps for various uses, especially if you dream of launching your own range of commercial quality spreadsheet software, knowing how to add a Splash Screen to your app would go a long way to help your better impress your buyers/users.
Splash Screens provide users an interface to notify the user that the app is loading. They typically contain "an image, a logo and the current version of the software." - and are generally visually appealing.
As soon as I learned that I could use Excel-VB code and forms/controls in the Visual Basic Editor, to create Splash Screens, I knew I would be using them for my apps.
Below are screenshots with short notes/tips about how the Splash Screen for my Excel-VB driven Poultry Farm Manager was built.
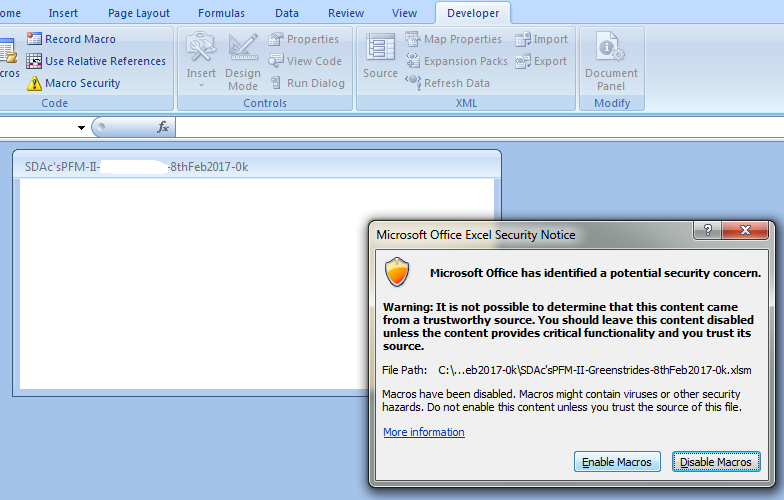
1. Double-clicking the workbook application's file launches this Enable-Disable Macros dialog box.
The user will click "Enable Macros" for the app to continue loading. Otherwise, the code in the app will be auto-disabled, and the app will remain in the small window shown
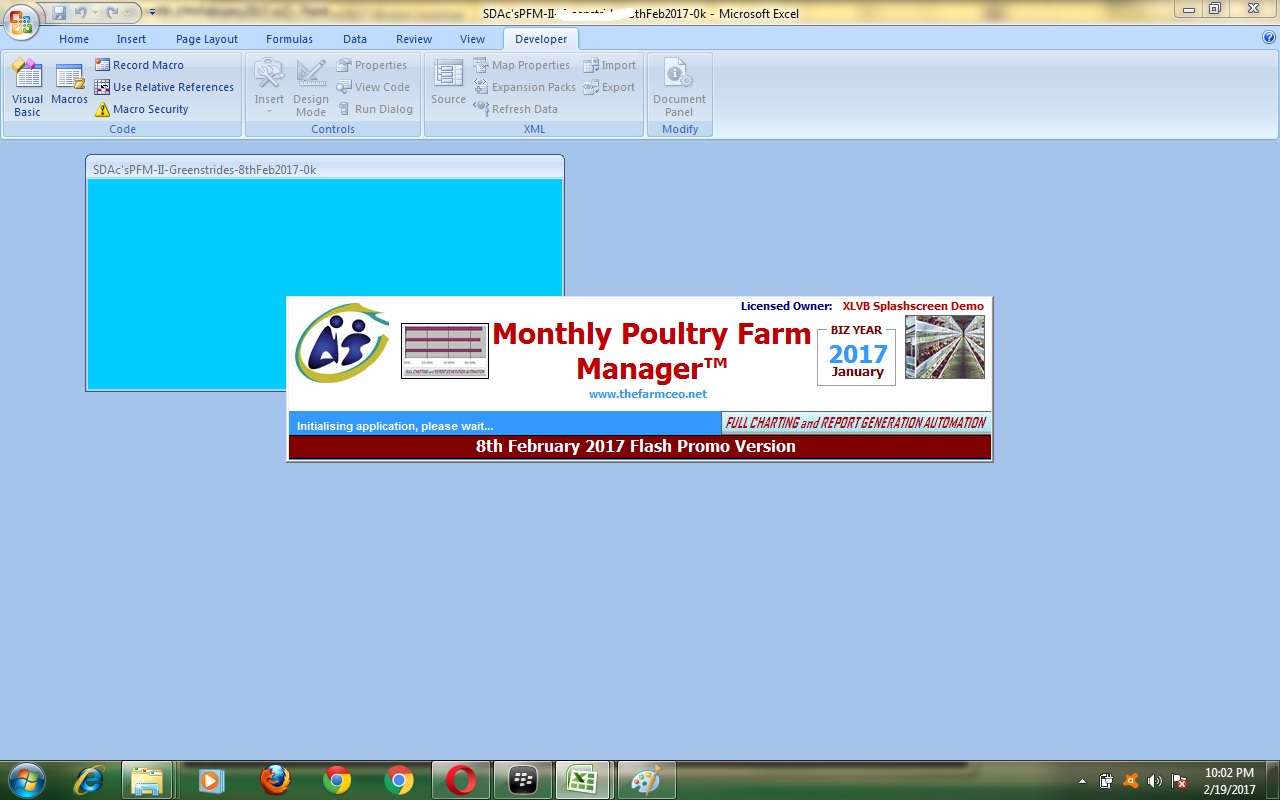
2. This is the Splash Screen - It appears (called by a line of code in the Workbook_Open procedure for the Workbook) after the "Enable Macros" button is clicked.
As can be seen from the code in the VBA interface of the form used to build the Splash Screen, it is set to stay visible for about 5 seconds, after which it "disappears"...
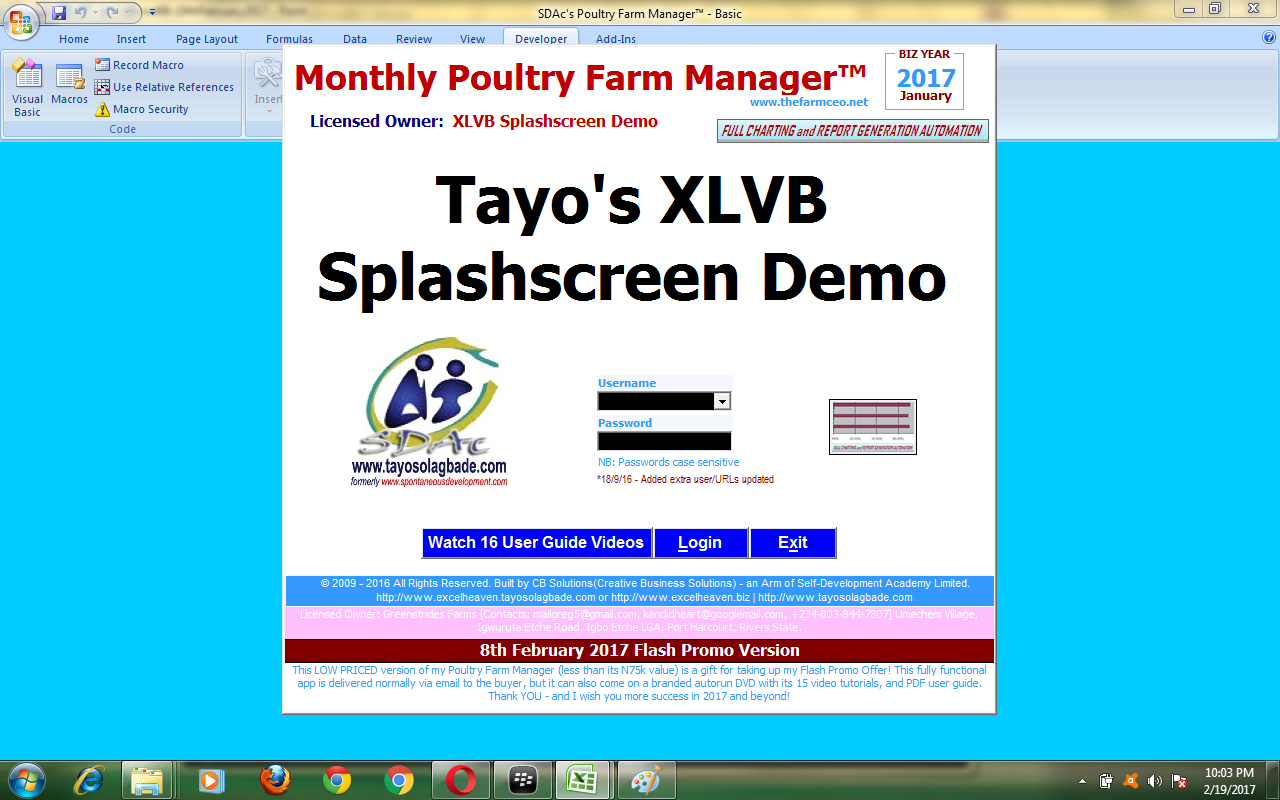
3. This is the login screen for the app - it is loaded AFTER the Splash Screen is "killed" or "unloaded from memory"
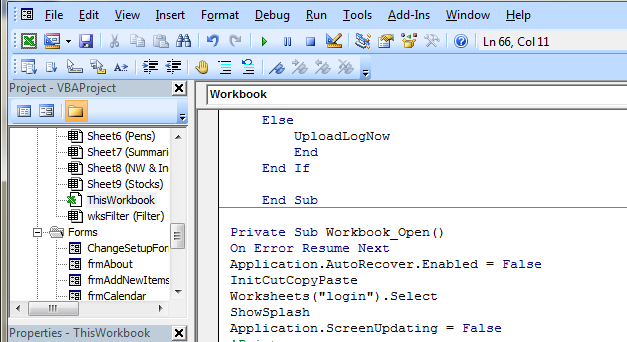
4. This is the Excel-VB code used to call the Splash Screen - in the "Private Sub Workbook_Open subroutine
This is the code that runs when the workbook is loaded into MS Excel, after the "Enable Macros" button is clicked. Notice the 4th line of black text below the "On Error Resume Next" entry i.e the text "ShowSplash".
That is the name of the Excel-VB code procedure containing the instructions for loading the Splash Screen that appears after the "Enable Macros" button is clicked.
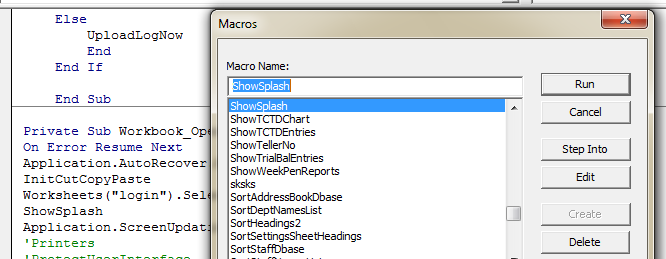
5. This is a dialog box showing how the "ShowSplash" macro procedure is located by typing its name, so it can be opened for modification by clicking the "Edit" button.
6. This is the Splash Screen "design" view in the Visual Basic Editor interface - In the video for Part 2 of 2, that goes LIVE next week, I will show step-by-step how to build this on a blank form control.
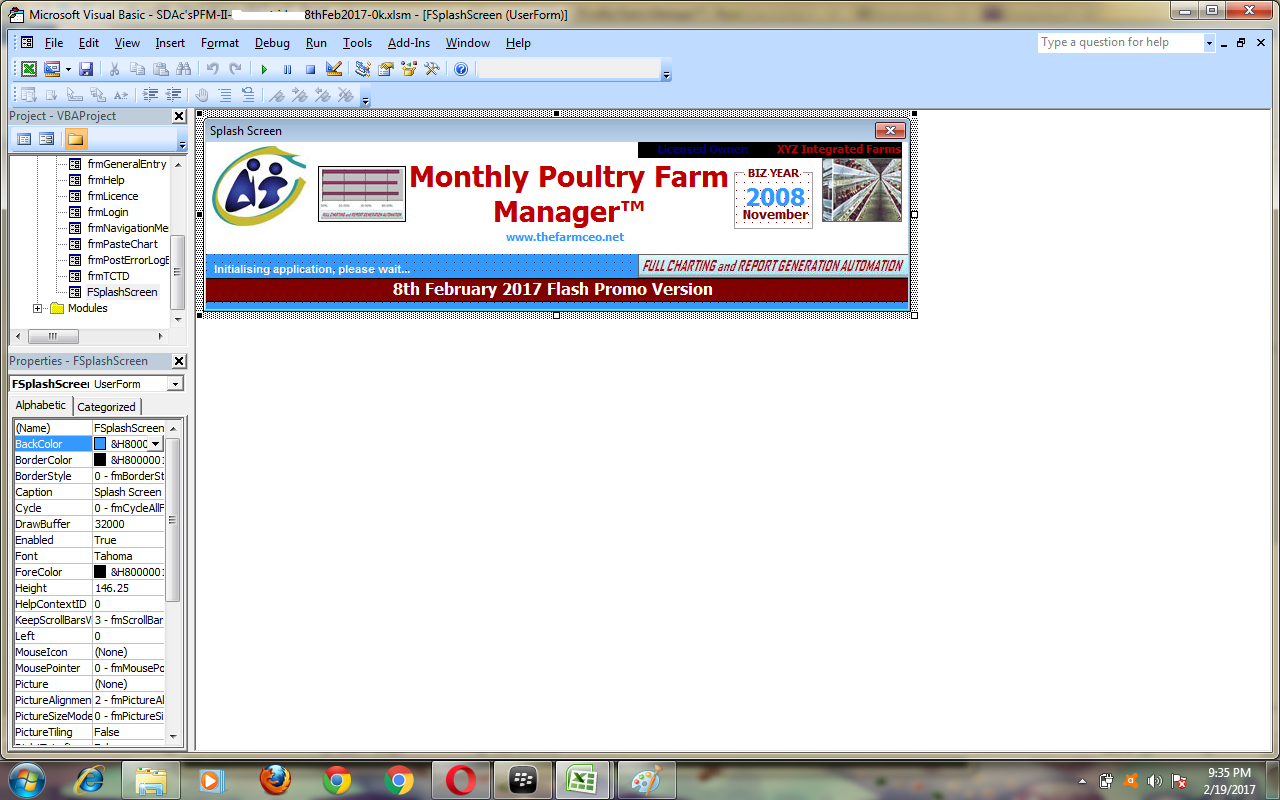
Creating a Splash Screen does not require elaborate coding - or design...
The Graphic User Interface created using the form control does NOT need to be as complex as the one I created for my app.
You can simply add a few descriptive labels, for your purposes.
I have used the screenshot images shown above, to explain the thinking behind the creation of this Splash Screen, to give you insights into how you can go about creating such for your apps.
Next week I will create a step-by-step video demonstration showing how I built this app's Splashcreen
NB: If you're not a member of my Excel Heaven Visual Basic Automation Club, click here to request a copy of the video.
